Set up a DVR, ou stand-alone, to be accessed remotely is no big deal, but for those who have no experience below follows a step by step tutorial on how to set up your stand-alone to view your cameras from anywhere that has internet access.
1º Step: Check the information of your network
click in Start > run > type it CMD e de enter.
No Command prompt which opened type ipconfig e de enter.
Record the following information for later use:
- Subnet Mask
- default Gateway
 1")
2º Step: Configurar o stand-alone (internal and external access)
As there are several models the way to configure each DVR may vary, but the premise is the same.
Menu > Advance > Network
 2")
 3")
In Network Type, of O.k in Static and put the information picked up from the computer.
IP: You prefer. ( Example: 10.0.0.120)
Gateway: 10.0.0.1
Netmask: 255.255.255.0
 4")
Go back to the Menu Network.
DNS: 10.0.0.1 (the same gateway)
Port: It is the gateway to access your DVR. In this example I'll use port 1227, but you can use the number of your choice.
 5")
Obs.: If what you want is internal access, that you can view the cameras from any computer or device that is connected to your internal network, already done you don't need to configure anything else. To view the cameras simply enter your internet browser and enter the following address: http://ip-stand-alone:door (Ex: http://192.168.0.120:1227)
3º Step: Fix external IP
In almost all internet services available, our external IP is not fixed, and yes dynamic, ie every time your router is turned off or disconnected the next made it to connect with your Internet service will be with a different IP. Then this problem, to access the stand-alone we need to know the external IP current network it is connected, since it is not feasible to go to the place where the stand-alone is physically to check the IP address every time the router is turned off we will use a service that updates the IP automatically.
The two most commonly used are the No-IP e o DynDNS, both are paid but the No-IP has the ability to upgrade for free up to three IP addresses per account, for this reason I will use the No-IP for demonstration, but in both the configuration is basically the same.
First create an account at No-IP, after that enter the account created and click “Add Host”.
 6")
On the next page choose “Hostname” I had used to access your DVR, do not change anything and click “Add Host” at the bottom.
 7")
ready your hostname it is created.
 8")
4º Step: Configure the router:
Now what we do is to set the IP and the stand-alone door. The router I'm using in this tutorial is the “WRN 240” gives Intelbras, but the configuration is basically the same for any router.
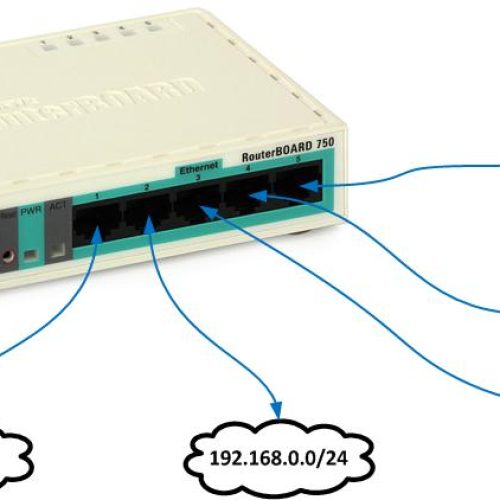
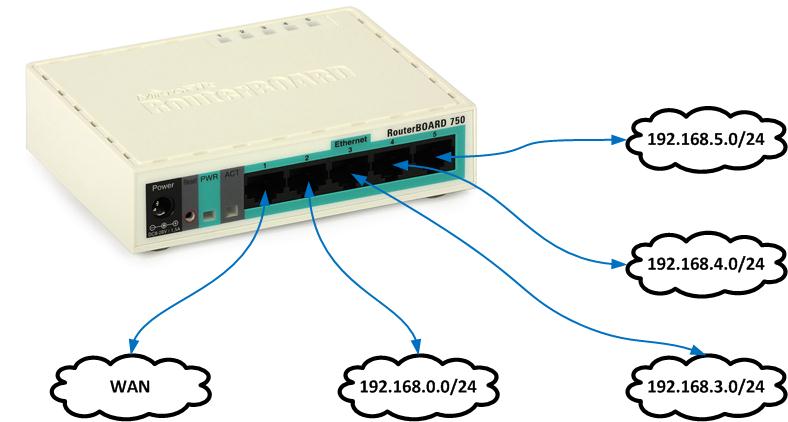
First you go redirection > Virtual server > Add

Place the information of the DVR and click save.
 10")
after saving, the port and IP that you set will look like this:
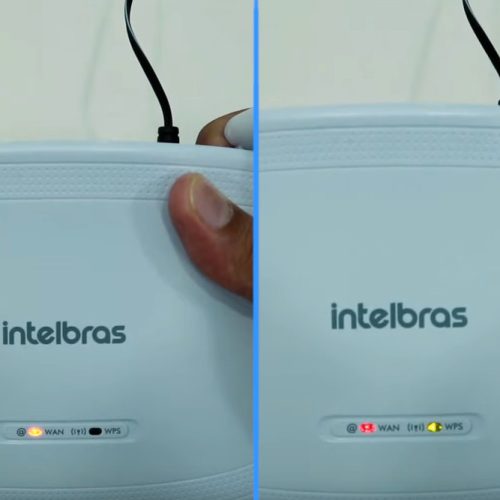
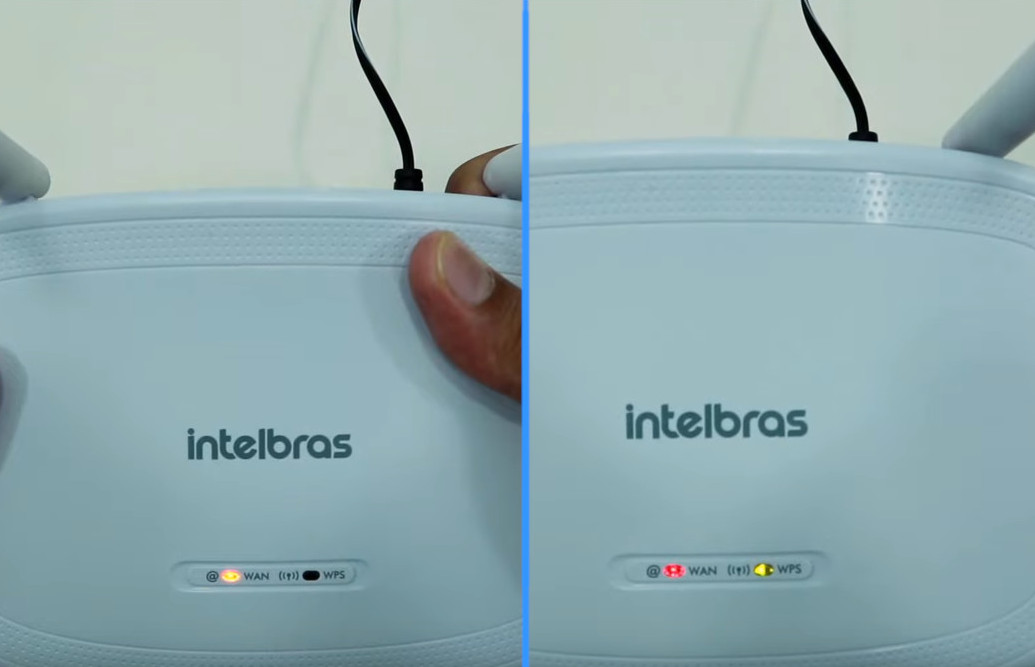
 11") Some people prefer to make the release of the DMZ ports, as it will be shown abaixo, but by enabling DMZ on your modem or router, you will be compromising the security of your device. Always release the doors manually, as shown above..
Some people prefer to make the release of the DMZ ports, as it will be shown abaixo, but by enabling DMZ on your modem or router, you will be compromising the security of your device. Always release the doors manually, as shown above..
Computer security, a DMZ or demilitarized zone (demilitarized zone or DMZ), also known as perimeter network, is a physical or logical subnet that contains and exposes an organization's external border services to a larger, untrusted network, usually internet. Any devices located in this area, this is, between the trusted network (usually the local private network) and the untrusted network (usually the Internet), is in the demilitarized zone.
redirection > DMZ > Select enable, enter the IP of the DVR and save.

The next step is to configure the router to automatically update your network's IP in your NO-IP account.
Go to Dynamic DNS, enter your account information and the hostname/domain you created, click enter. After the “Connection Status” is like “Connected!” click save.

It is, Now you can view your cameras from anywhere in the world.
If you have questions or suggestions leave us comments.
DVR")


321 Comments
"A place where you can express!!!", you already released the doors and tested?
Good afternoon Interside!!!
I have a HCL DVR from 4 Channels, model DVR5104E-16, SYSTEM: NTSC, COMPRESSION H.264, in my store, but I only have remote access both via my smartphone and / or computer just there in the store…
I try from home or elsewhere and I can't get it via Wi-Fi, 3G or 4G, can you help me?
neilton, add no Skype.
"interside.blog"
good night M.A Cardoso I'm sorry for the delay
neilton said… good morning everyone, I did all the steps described above but I can't get external access,
I only have access on the local network,
when I try to access from outside the local network it doesn't work.
M.A Cardoso said…
Neilton, you have tested the ports to confirm that they are open?
http://ping.eu/port-chk/
yes I tested the doors and they are open
obs. My internet is from BRISANET via fiber optics and the cameras are connected to BRISENET via radio
Add there on Skype :dxtfelipe@outlook.com Note* I configured it smoothly… it was even working remotely, but I didn't put it to update the IP just. And someone ended up turning off the modem, and I had to update the IP on the Dyndns website, but it's not working.
"Anonymous", add me on SKYPE.
Felipe, yes you can contact me. And there's SKYPE too.
"interside.blog"
Man if available, I could show TV on my PC, because I open the doors that are 9090 Then I go to the website and enter the IP of the DVR and its port, and says it's closed..
Hello, Good evening!
Tomorrow I will be setting up a DVR H 2116, for remote access. I have already configured it to access via the network ( I opened the port on the Modem and I can now see it on my cell phone), All you need to do is put the No-ip.com data on the modem. If you have any problems, I can contact you via email or even team viewer.? Thank you vllw
Dennis, Have you checked to see if the ports are open??
Check this link to see if all ports are open: http://ping.eu/port-chk/